Mar
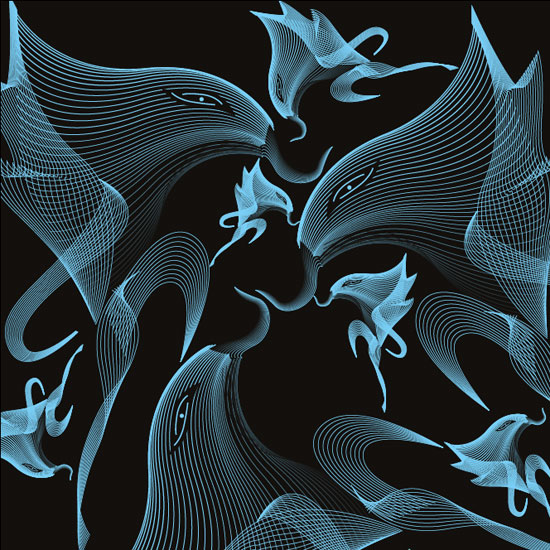
Hey guys! Some time ago I was asked a question how am I doing the lined artwork. Today I’d like to share with you some basic tips on Adobe Illustrator’s Blending Tool. I’m sure some know how to use it. Still I hope others will find this short 12-steps tutorial useful.
Step 1
Make new document (Cmd+N) 1000px wide and 1000px tall. Draw a rectangle the same size as the document by selecting Rectangle Tool (M) and clicking on the canvas. You can now enter the exact size of you shape. Open the Alignment Panel. With “Align To” set to “Artboard” align it Horizontal Center and Vertical Center.

Step 2
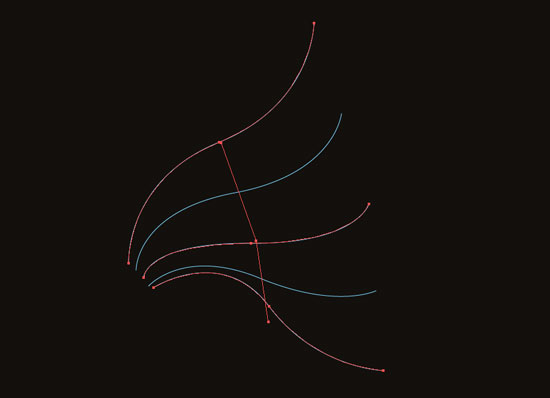
Draw 3 lines with Pen Tool (P). I uses light blue color for it for the contrast with black background.

Step 3
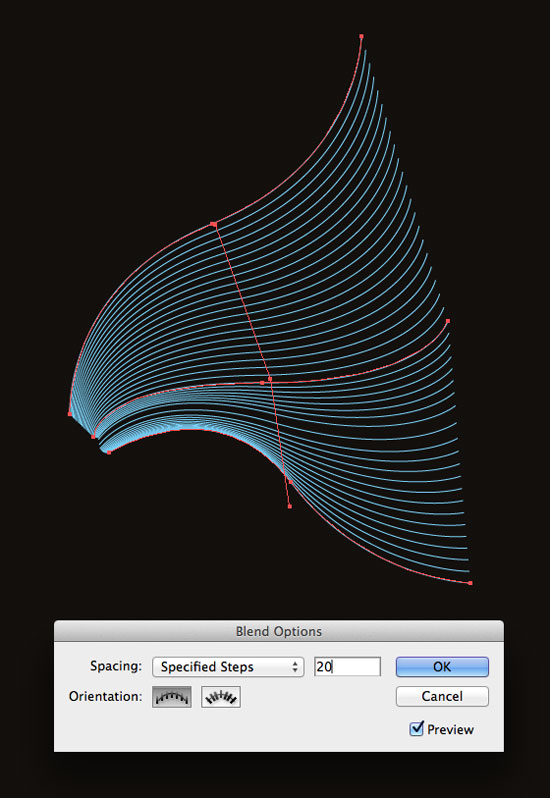
Select Blend Tool (W) and click the first line, then click the second and then click the third. You should see 5 lines by default. Now double click the Blend Tool and set Spacing to “Specified Steps”. Set the amount you like.
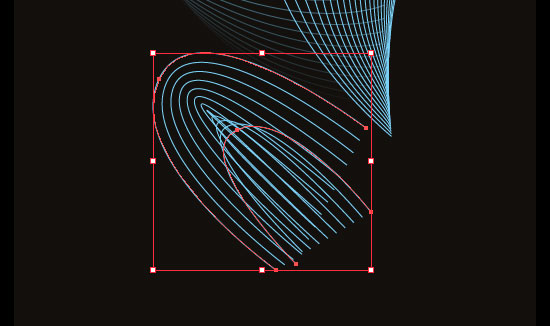
Step 4
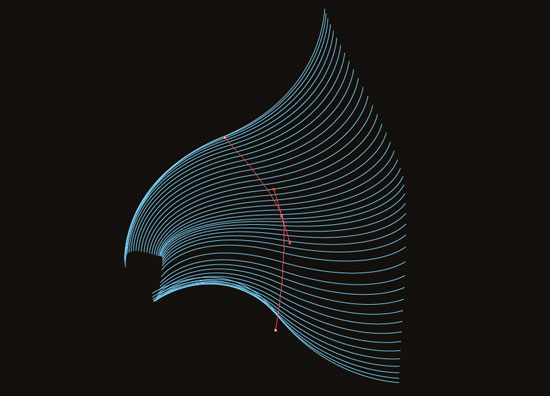
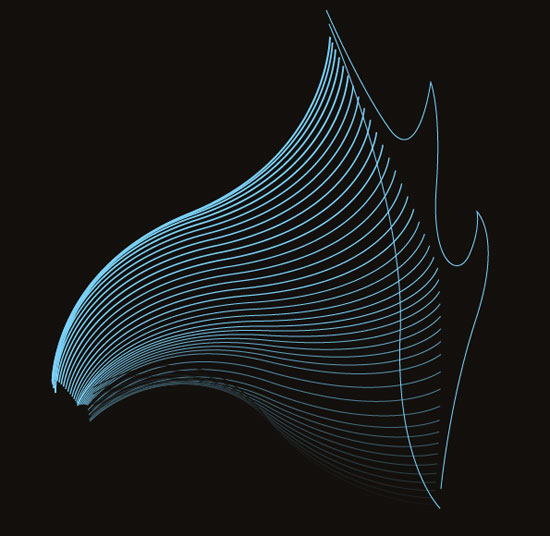
There is a line connecting the blended group. Use the Convert Anchor Point Tool (Shift+C) to make it smooth – just click on the middle anchor and drag to define the curve’s shape. If you double click the blended group you can change the shape of each of three lines you’ve made in Step 2.

Step 5
The other thing you can do with blended shapes is changing their Transparency. Set Opacity of one of the lines to 0% to make the group blend into the background. Width and color of the elements can be altered as well.

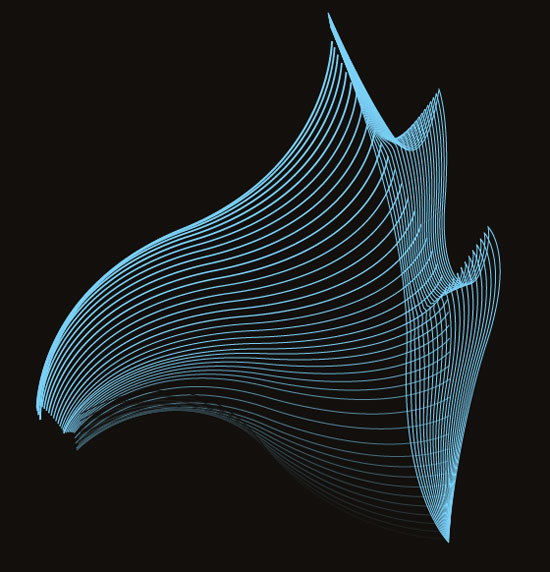
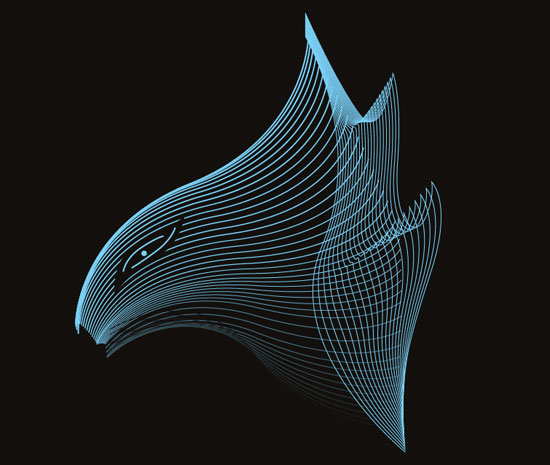
Step 6
Now I’ll be adding more shapes to form a body of a creature.
Step 7
Use the Pen Tool (P) with black fill to make an eyehole. I use two simple lines and a circle to form an eye.
Step 8
Here is the tongue. If you need to place ends of two curves exactly in one place you can either copy and paste ones coordinates to another using Transform Panel or use the Direct Selection Tool (A) to select them and align using Alignment Panel.


Step 9
Sometimes the blending turns out to be in wrong direction. In such case you should take the Pen Tool (P) and click on one of the ends of the curve to change its direction (which anchor is first and which one is the last).

Step 10
Now I’m adding an arm.
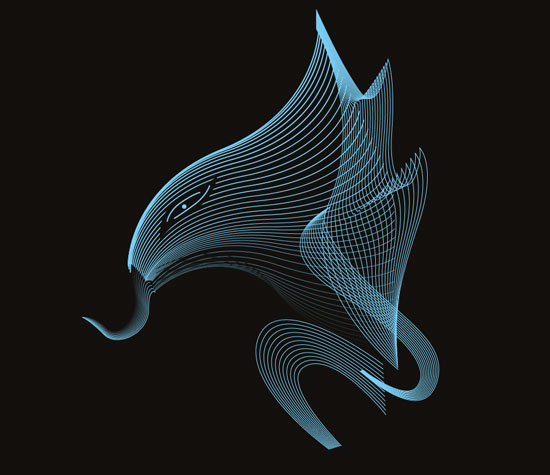
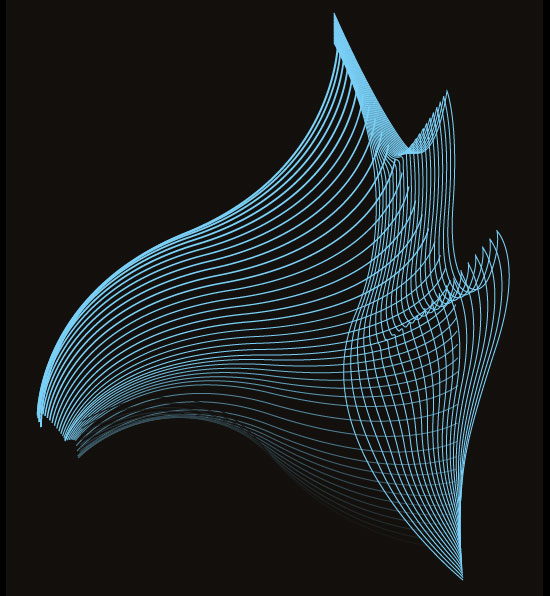
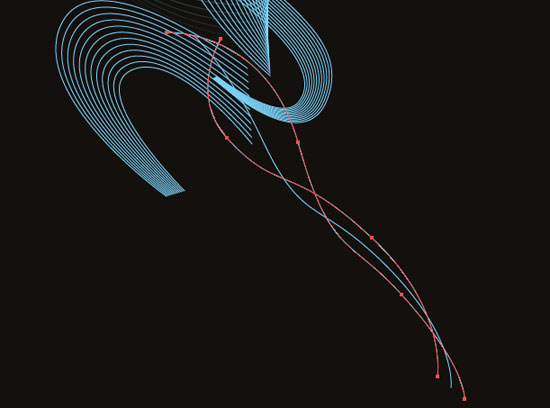
Step 11
If you want to have nice wavy look of your blends try crossing the curves.

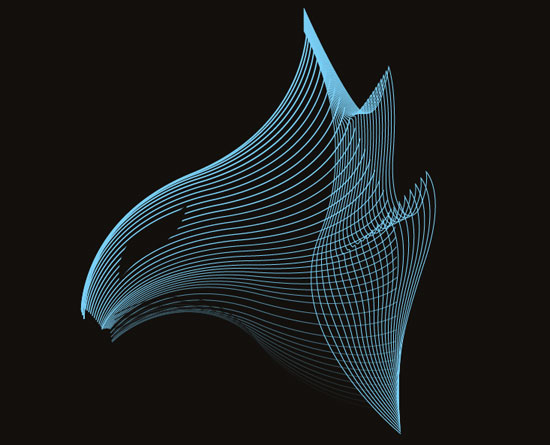
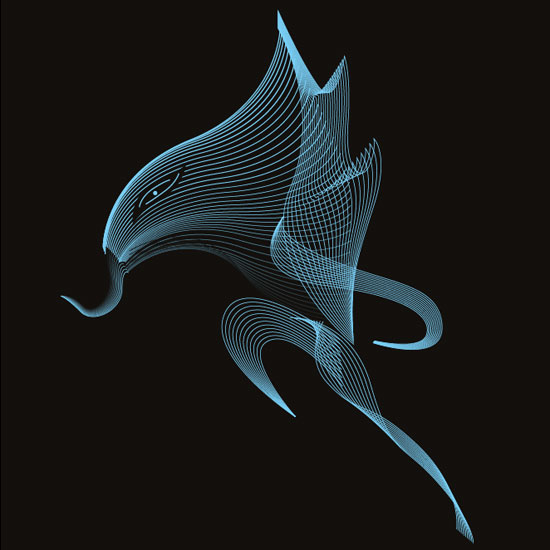
Step 12
Now I’m making some final adjustments to the arm and leg, grouping all the elements except the background, expanding appearance (look at the Object options for it) so I can scale and rotate the group without unexpected results.
If you have any questions
about this tutorial or how do I do my other art, feel free to ask me in comments, email me or send a message on Facebook.