Nov
Hey people! I’ve came up with a new tutorial. This time I’ll show you how to use Pattern Brush in Adobe Illustrator to create a snake, pipe, cord – anything that has beginning element, repeating pattern in the middle and an ending element. This is a fast tutorial you can complete in 10-30 minutes and it will save lots of time in your future projects!
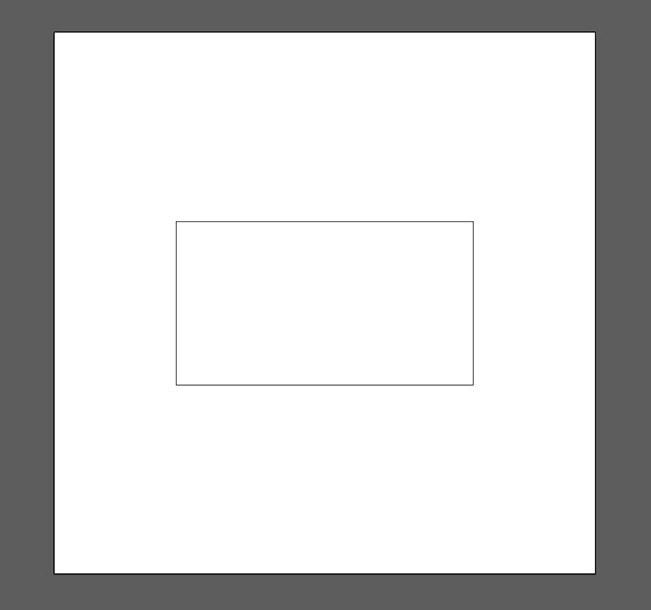
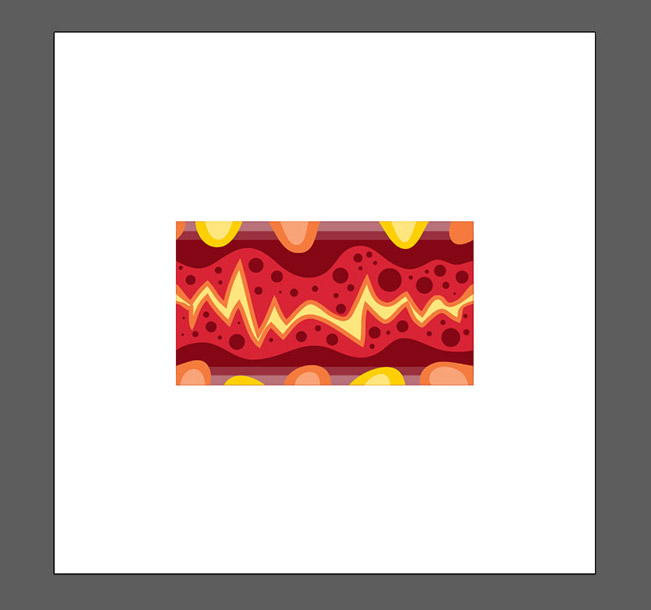
Step 1
Create a new RGB document 1200x1200px and add a rectangle using Rectangle Tool (M).
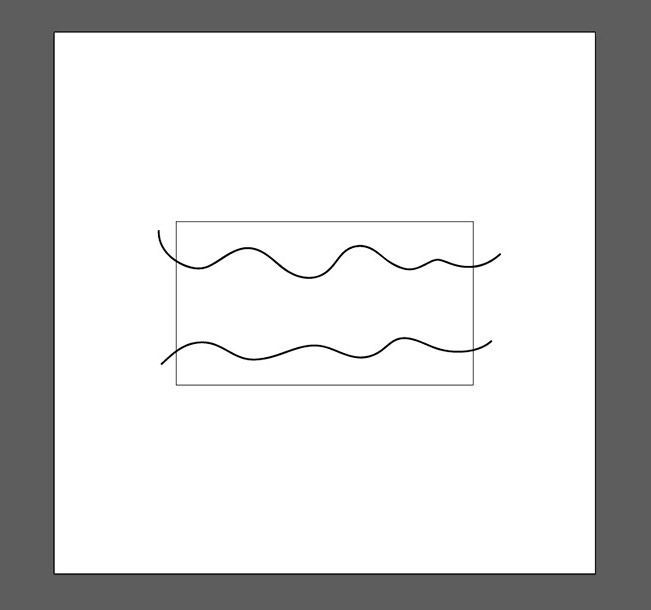
Step 2
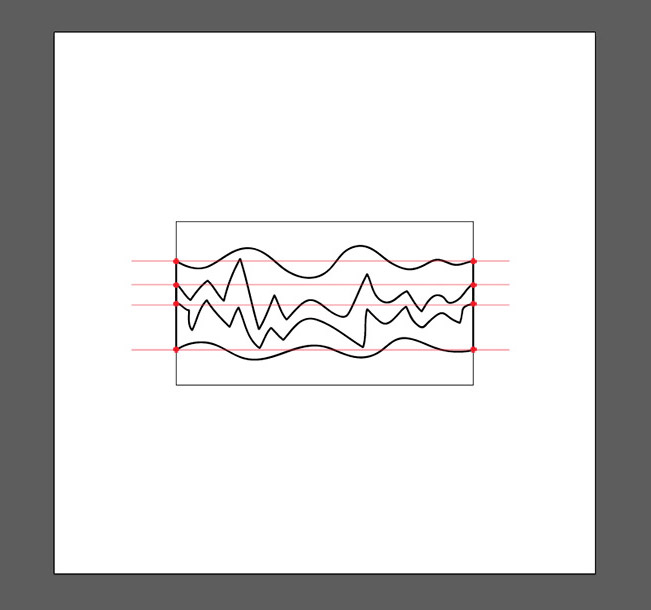
Use Brush Tool (L) to draw two lines.
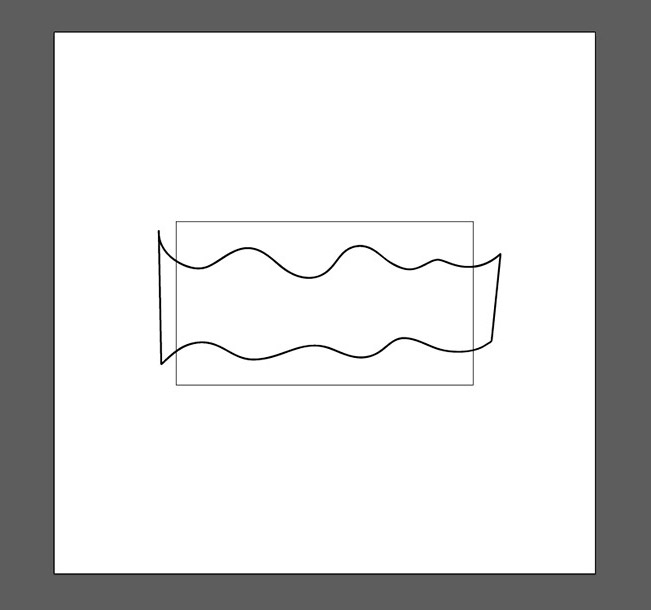
Step 3
Select their ends using Direct Selection Tool (A), right click and choose Join. Do this twice.
Step 4
Intersect the resulting shape with a copy of a rectangle using Pathfinder Palette. Align the ending anchors (on right and left side) vertically so when the shape tiles within a pattern brush its ends coincide.

Step 5
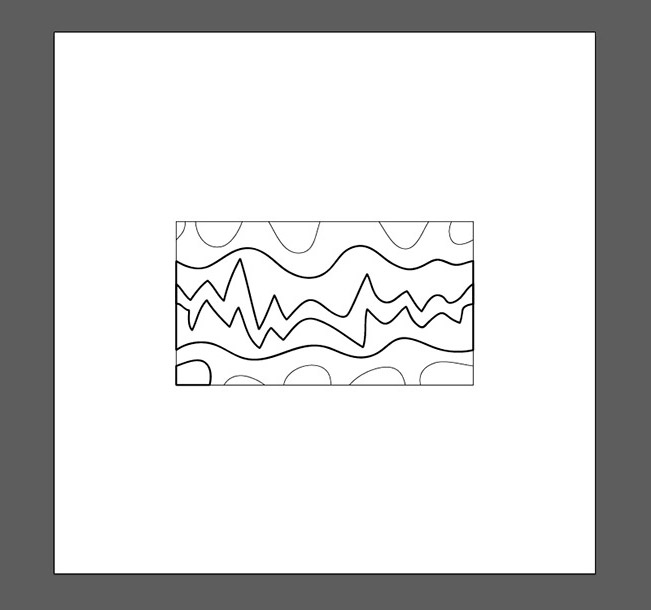
Add another crazy shape using Brush Tool (B), intersect it with a copy of background rectangle and fix the ending anchors.

Step 6
Add more shapes to the bottom and top.
Step 7
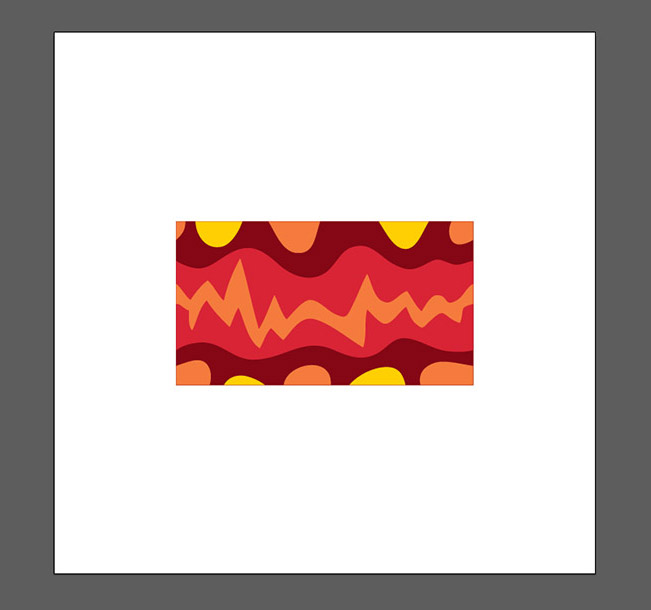
Color the shapes.
Step 8
Create a texture using Ellipse Tool (L) while holding Shift key to make circles.
Step 9
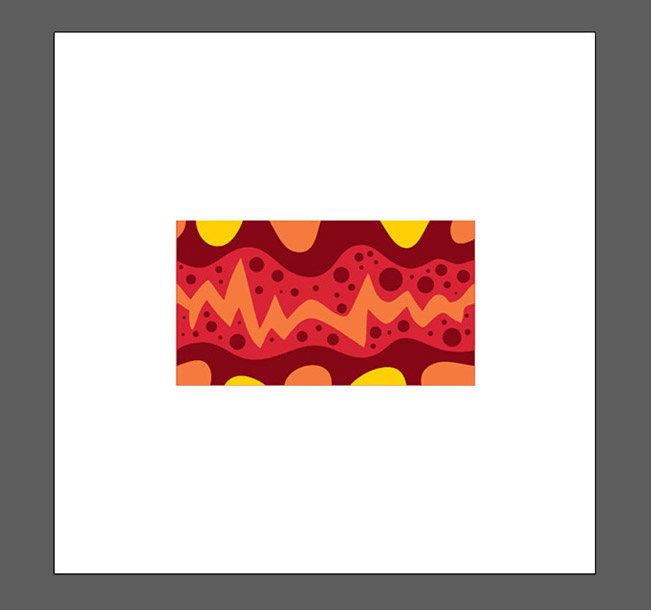
Select the inside shape, go to menu Object > Path > Offset Path and choose -5px or whatever suites your shape. Make a copy of back rectangle, click it with Selection Tool (V), hold Alt and narrow it. Color the original back rectangle with a lighter color. Add one more smaller rectangle and add some details to the top and bottom shapes.
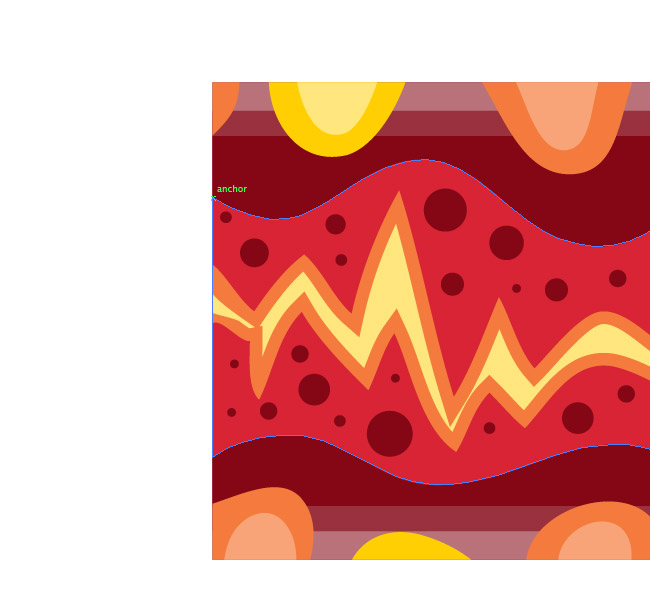
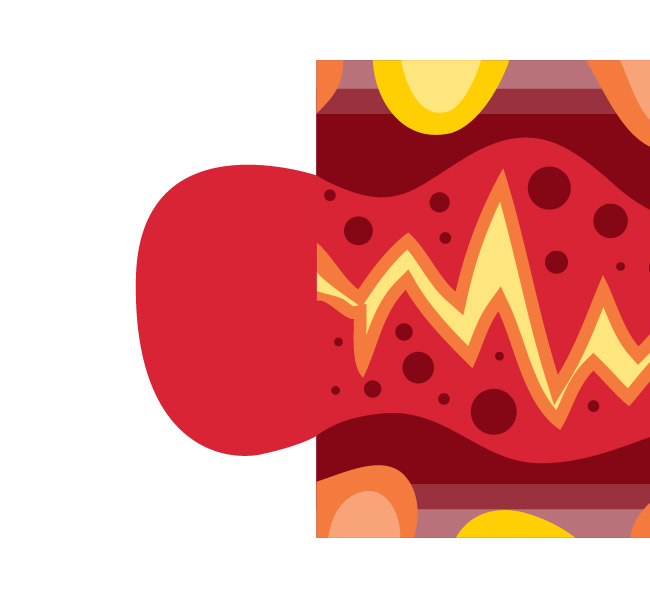
Step 10
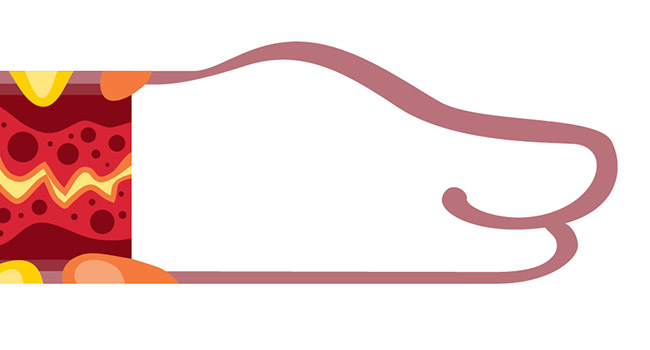
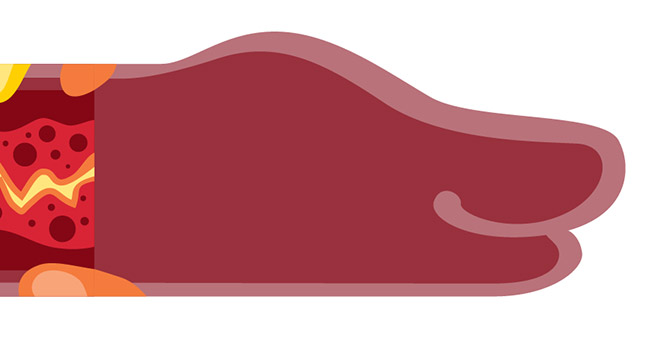
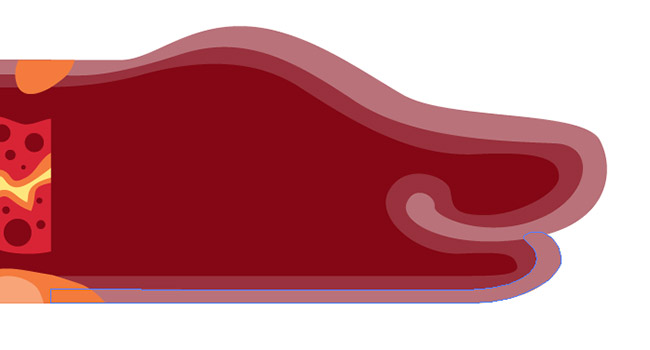
Turn on Smart Guides (Cmd+U) to start drawing an object using Pen Tool (P) to continue the back side of the shape that will be the snakes end. When your pointer comes close the the anchor of an existing shape there will be a sign Anchor – this is the place to start drawing the shape and to end it. And add some details to the tail.

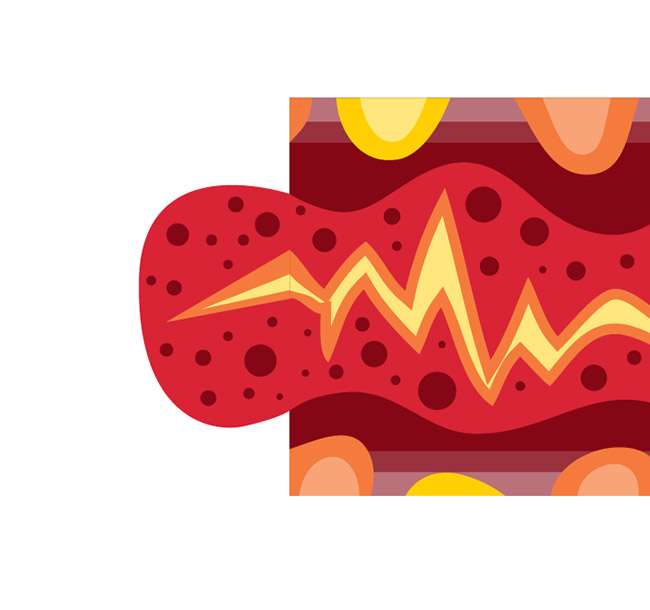

Step 11
Use the same technique to create a head
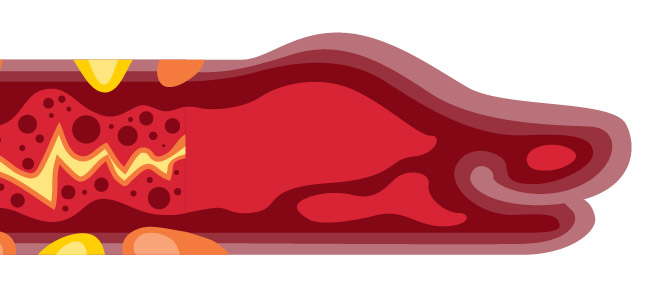
Step 12
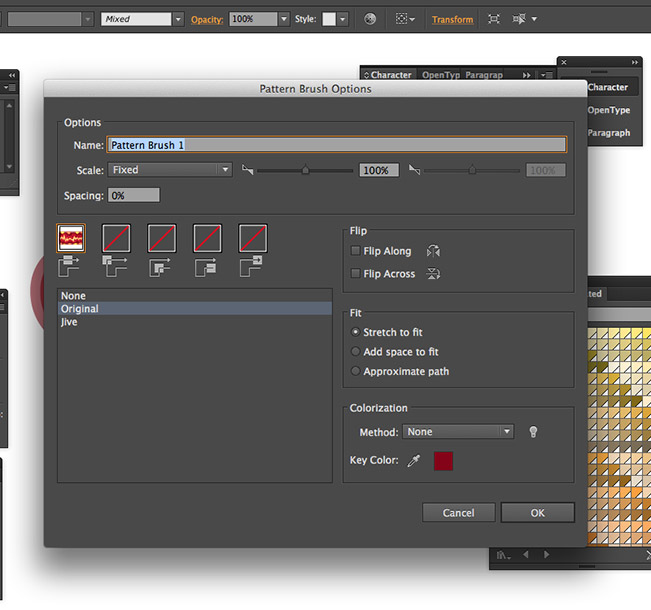
Select the middle part that fits the rectangle you started with. Open Brush Palette, press New Brush and select Pattern Brush.
Step 13
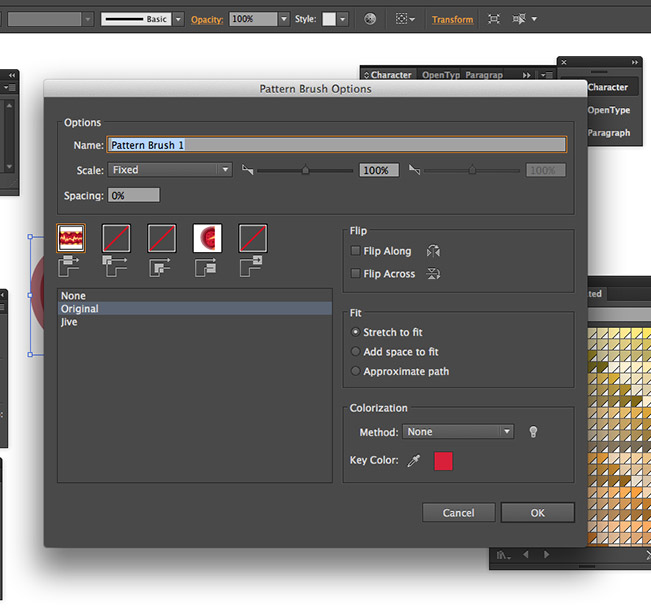
Select the back side, hold Alt and drag it to your brush in the Brush Palette to the second square from right. Select the head, hold Alt and drag it to your brush in the Brush Palette to the first square from right. Now you are ready

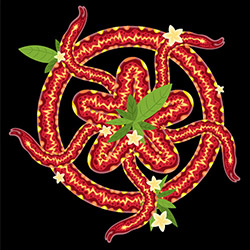
Step 14
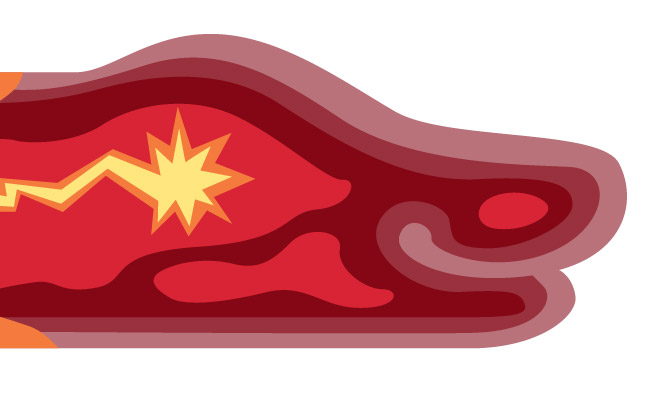
Here is what you can easily do with your brush and a bit of extra objects. If you want to use the brush I’ve made you can subscribe to my newsletter on top-right side of the page and grab a AI CS file with the brush from my Psychedelic Art Stash! Or if you’d like to support this website, you can purchase this image from Shutterstock.
![]()