Sep
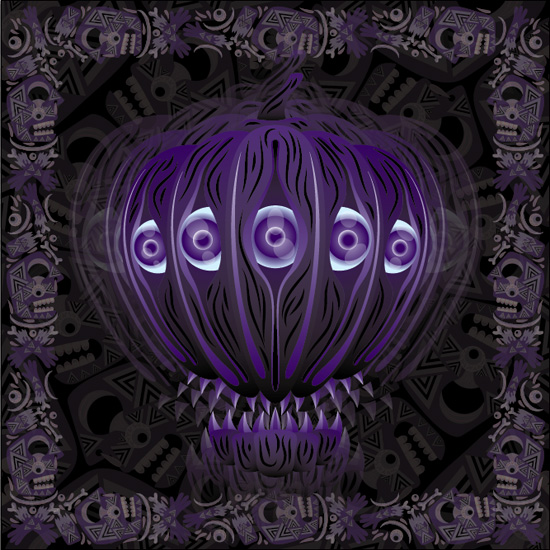
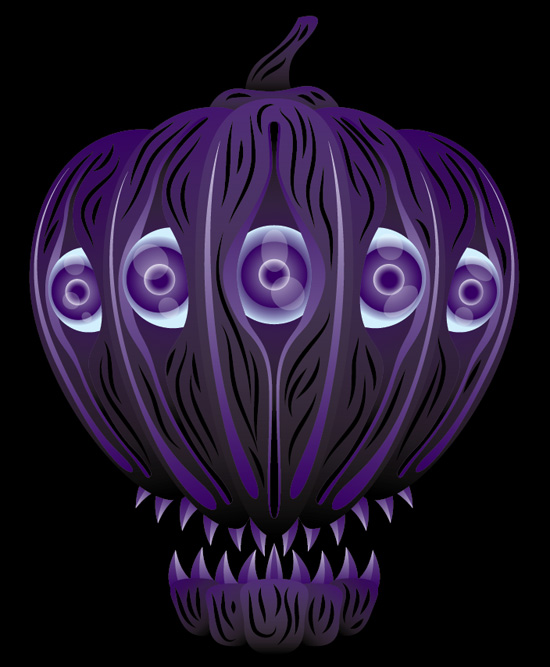
Hey psychedelic people! Here comes another Halloween tutorial. It will take you only 20 steps to create a cool spooky 5-eyed pumpkin. Within 4 extra steps you’ll learn how to mix this design with the ornament from the previous tutorial.
Step 1
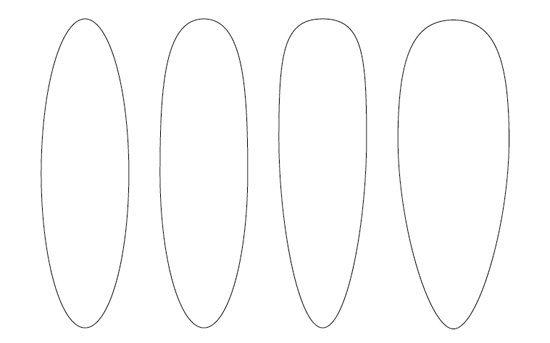
Use Ellipse Tool (L) to create an vertical-oriented ellipse. Use Convert Anchor Point Tool (Shift+C) to make the top arch more rounded. Select the middle anchors with Direct Selection Tool (A) and move them up holding Shift. Adjust the width of the resulting shape.
Step 2
Use Pen Tool (P) to create a curve that will be half of the eye-hole. Make a copy of it, Right Click > Transform > Reflect > Vertical. Select both curves, then click one of them. Open Align Panel and set Distribute Spacing to 0 and click Horizontal Distribute Spacing. Select both top anchor points with Direct Selection Tool (A), Right Click > Join. Apply same actions to bottom anchors.
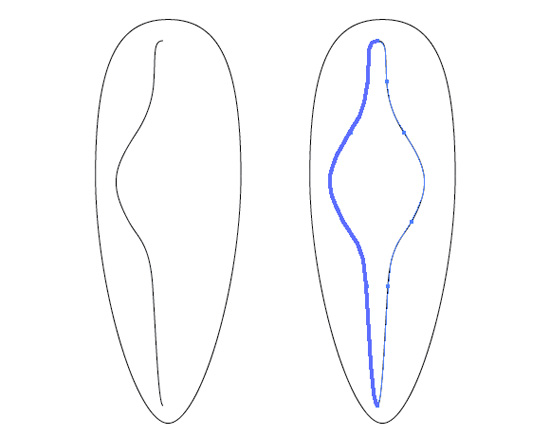
Adjust the width of the eye-hole. Make a copy of it and make it a bit narrower.
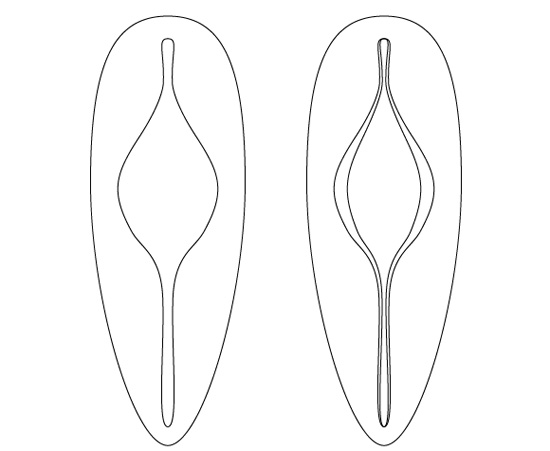
Step 3
Add 3 concentric circles to the canvas. Select All (Cmd+A) and click Horizontal Align Center button on the Align Panel. Itersect the biggest circle with the a copy of the smaller eye-hole shape using Pathfinder Panel.
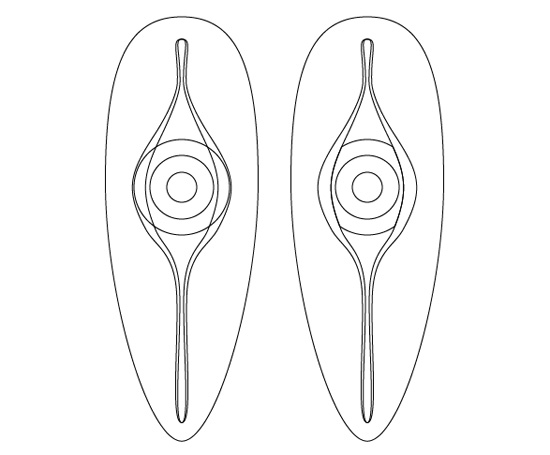
Step4
Use Pen Tool (P) to create a grass-leaf-like-shape. Make a copy of it, Right Click > Transform > Reflect > Vertical. Move it to the right. Select both new shapes and Group ’em (Cmd+G). Select All (Cmd+A) and click Horizontal Align Center button on the Align Panel. Group all objects (Cmd+A, Cmd+G)
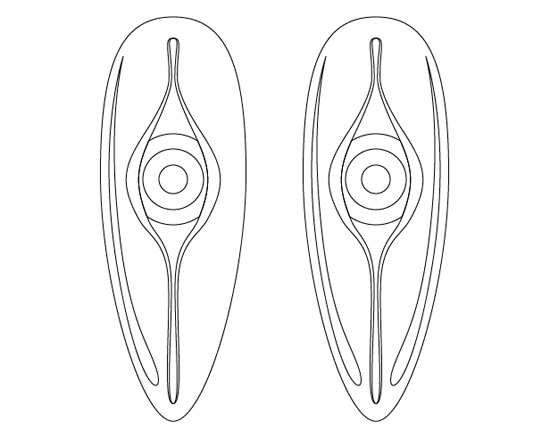
Step 5
Copy the all-objects-group (Cmd+C) and Paste it to back (Cmd+B). Make it a little wider. Delete all shapes inside the group except one grass-leaf-like-shape. Adjust it’s angle and anchors.
Step 6
Use Pen Tool (P) to create the eye-hole and add an eye like you did in Step 3 (but don’t align objects horizontally)
Step 7
Copy the left group and Send it To Back (Cmd+Shift+[). Squeeze it a bit vertically and adjust the curves if needed with Direct Selection Tool (A)
Step 8
Make the eye and the eye-hole a bit smaller and adjust their angle.
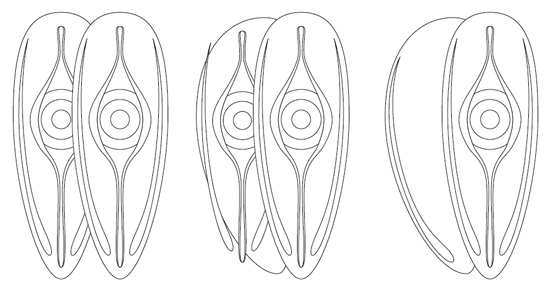
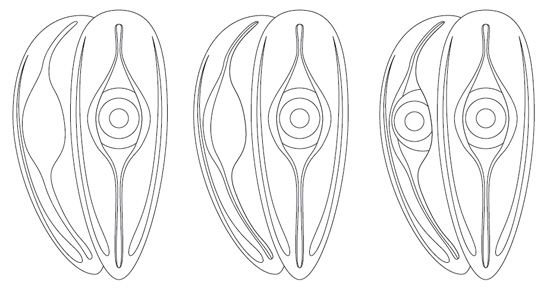
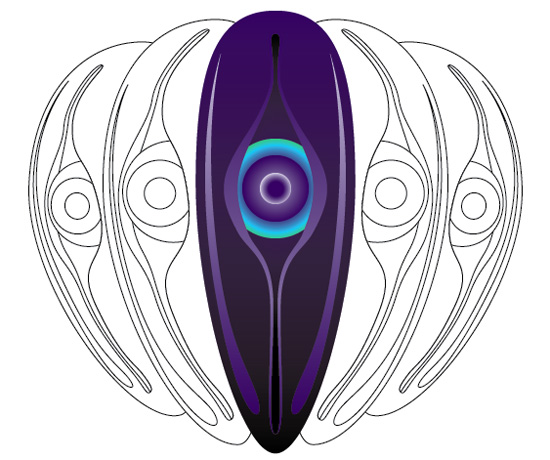
Step 9
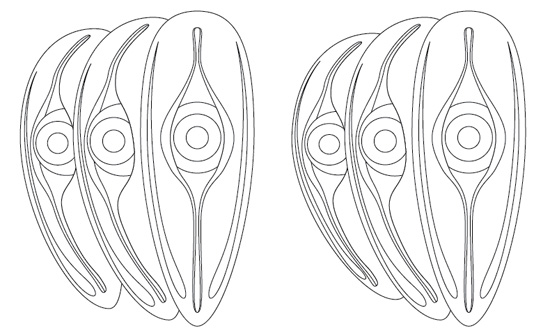
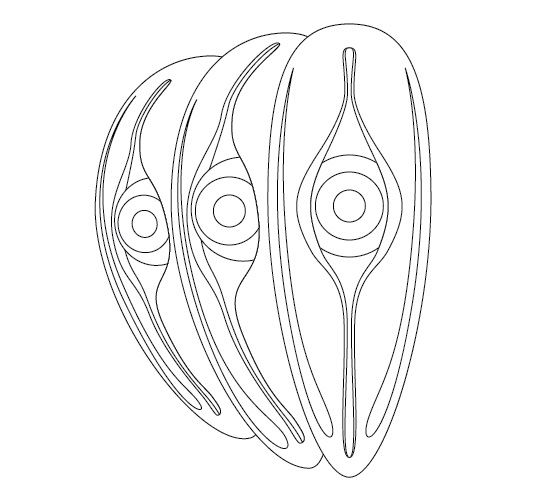
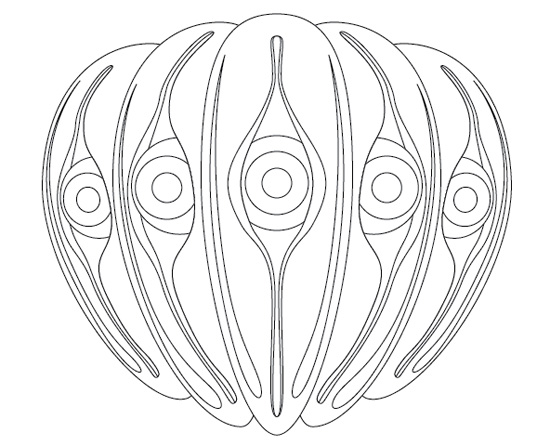
Select two new groups and group ’em once more. Make a copy of the resulting group and Reflect it vertically. Move it to the right. Select the 2 new groups and group ’em again. Select All and click Horizontal Align Center button on the Align Panel.
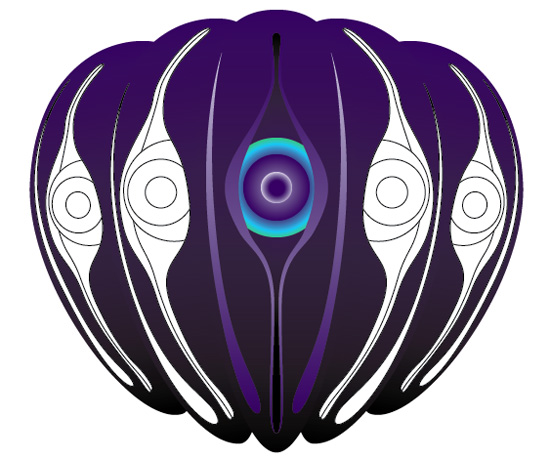
Step 10
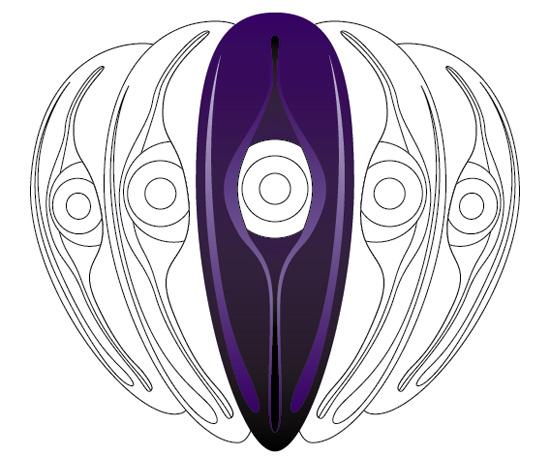
Now it’s coloring time. Use Pantone Process Coated palette with can be opened by clicking the small triangle on the top right corner of Swatches Panel (Open Swatch Library > Color Books > Pantone Process Coated). You can use only one dark purple swatch and adjust it’s percentage to make the color lighter. I’m not going to get into much detail with how I’ve colored the shapes. These were simple Linear and Radial Gradients – nothing special.


Step 11
Create a tooth as shown below. You can color it with gradients instead of solid fills (I’ll do it later).

Step 12
Create several teeth and group ’em. Make a copy and Reflect it Vertically.
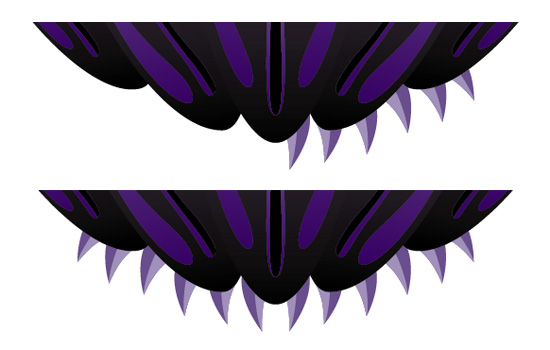
Step 13
Use Ellipse Tool (L) to create an vertical-oriented ellipse. Use Convert Anchor Point Tool (Shift+C) holding Shift to make the top of the ellipse look like shown. Move the bottom anchor up using Direct Selection Tool (A)

Step 14
Copy the shape to create the jaw.
Step 15
Add some teeth to the new jaw.
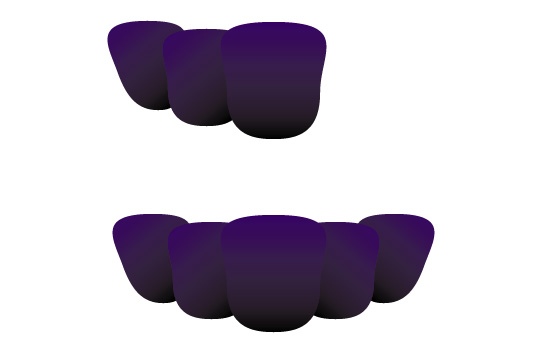
Step 16
If you have not colored the teeth with gradients the time has come. Keep the darker side of the gradients closer to the jaw.

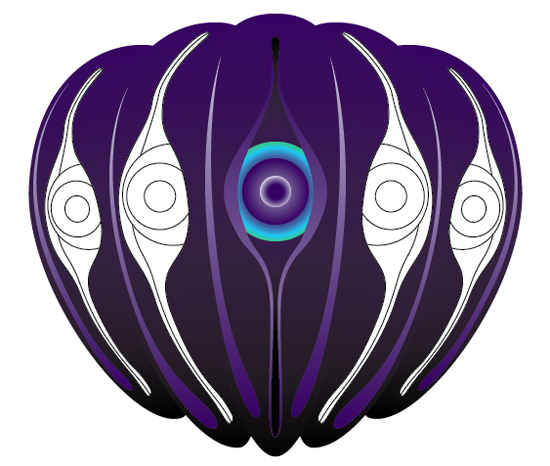
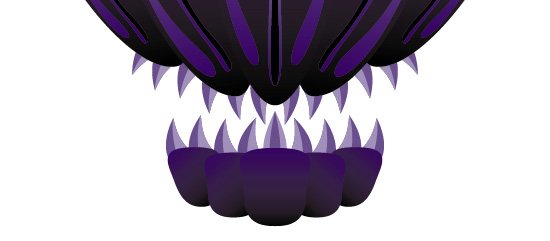
Step 17
Make the closest groups backgrounds a bit lighter so they look closer and “come forward”.

Step 18
Use Ellipse Tool (L) to create an horizontal-oriented ellipse. Click right and left anchors with Convert Anchor Point Tool (Shift+C). Select the resulting shape and press “New Brush” icon on the Brush Panel.

Add some brush strokes using Brush Tool (B)
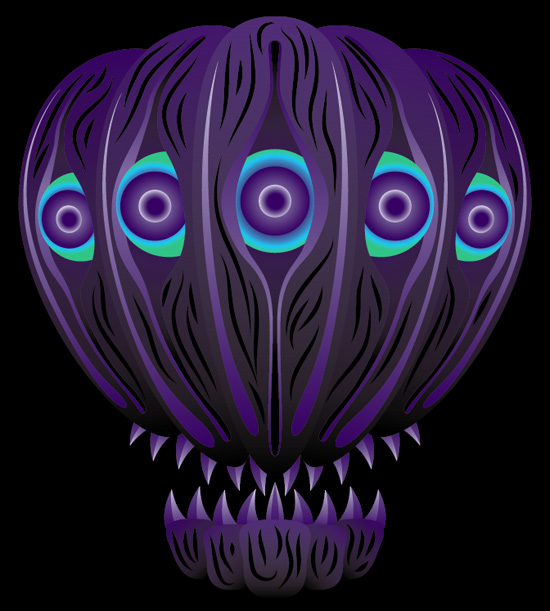
Step 19
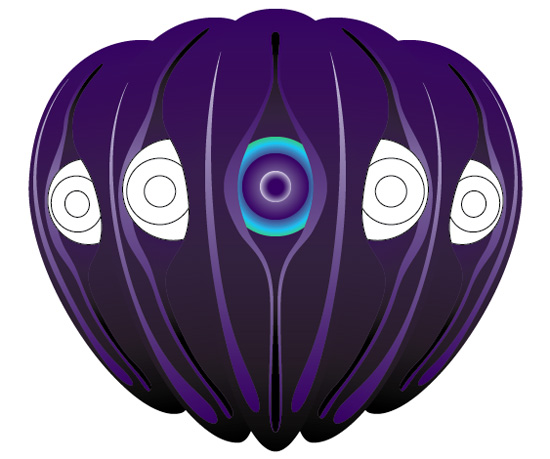
Add several 20-30% transparent circles over the eyes (I have also changed the eyes color, but you can leave it as you like.)

Step 20
Use Pen Tool (P) to create the top “green” part of the pumpkin.

Add several brush strokes to it.
This is it!
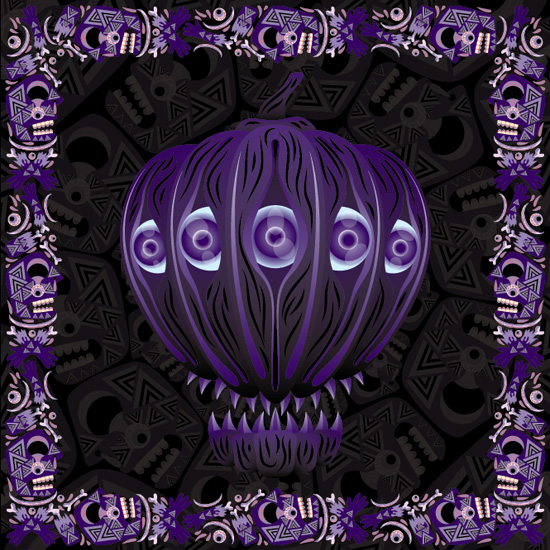
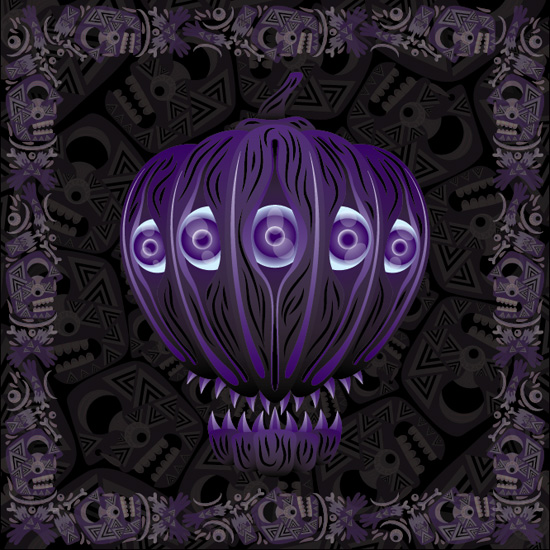
Within the next few steps I’m going to add an ornament I’ve create in the previous “How to create a bloody Halloween ornament using Adobe Illustrator” tutorial.
Step 21
Delete the black background if you have one. Add a new Layer and move it under the first one using Layer Panel. You can add your own ornament or follow my previous tutorial.

Step 22
Use Magic Wand Tool (Y) to select the red objects and color it with light (38%) purple. Select oranges and color it with 100% purple. Color the dark reds with black (CMYK=30:30:30:100).
Step 23
Set the opacity of the ornamental frame to 40%.
Step 24
Add two copies of the pumpkin head. Make ’em bigger than the original and set their opacity to 50% and 20%. Make the biggest pumpkin the less transparent.
Want to be up to date?
Use the form on the right-top of page to subscribe to my newsletter + you get 20% off in my Etsy Store and access to extended psychedelic art stock.
Привет, Андрей. Хотя сначала собирался по-английски писать. Ты пишешь интересные уроки. Будем друзьями? По-моему мне твоя фамилия на VT+ встречалась. Я прав?
Ярослав, привет! Конечно будем друзьями :)
Да, я на VT+ пару раз писал уроки