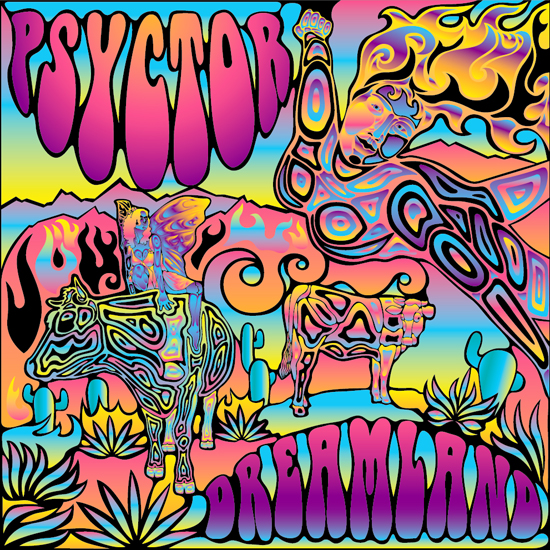
This tutorial is dedicated to the psychedelic coloring and shaping techniques. The main instrument used in this tutorial is pen, so you can use any vector software to create such art. You’ll find some simple text effects in this tutorial as well. This tutorial is for intermediate Adobe Illustrator and Adobe Photoshop users. The time needed to accomplish all the steps depends on your skills and may take from an hour up to three.
Final image
Step 1
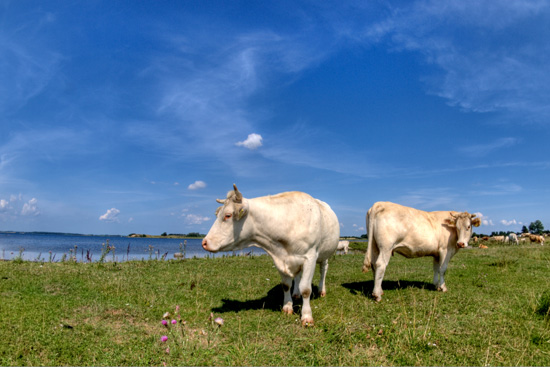
First of all you will need a reference image for your design. In my case the non-existent album of a non-existent artist “Psyctor” is named “Dreamland” so I decided to create a trippy dreamy landscape with some fairies and cows.
Here is the list of free stock photographs I’ve used:

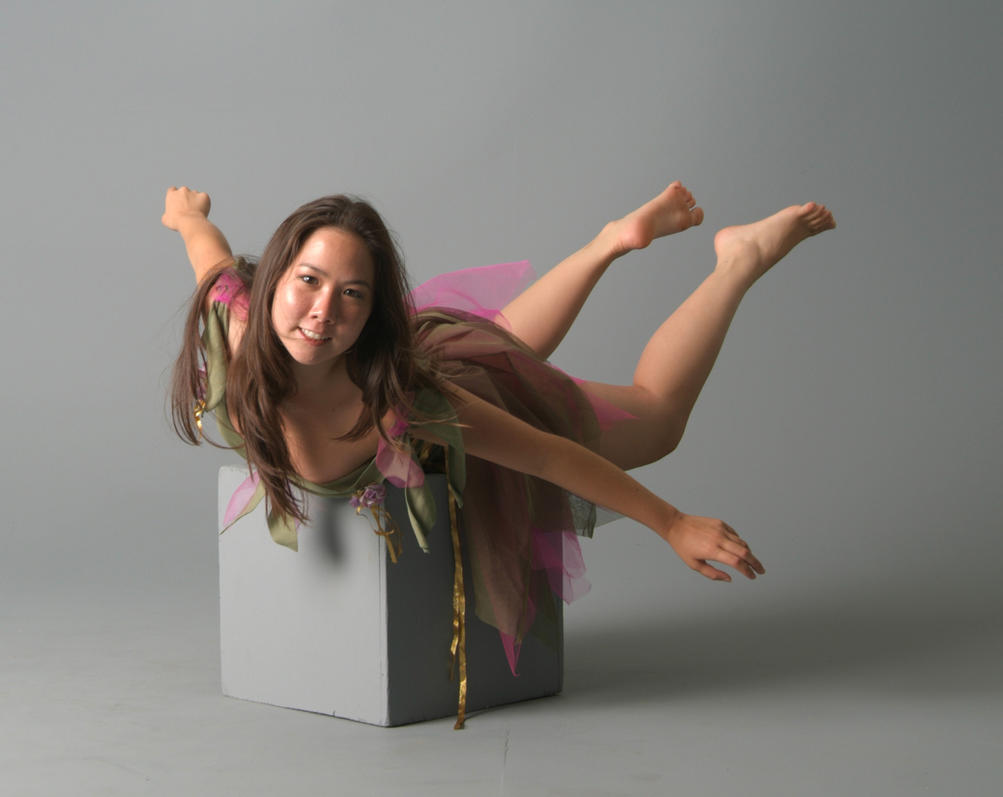
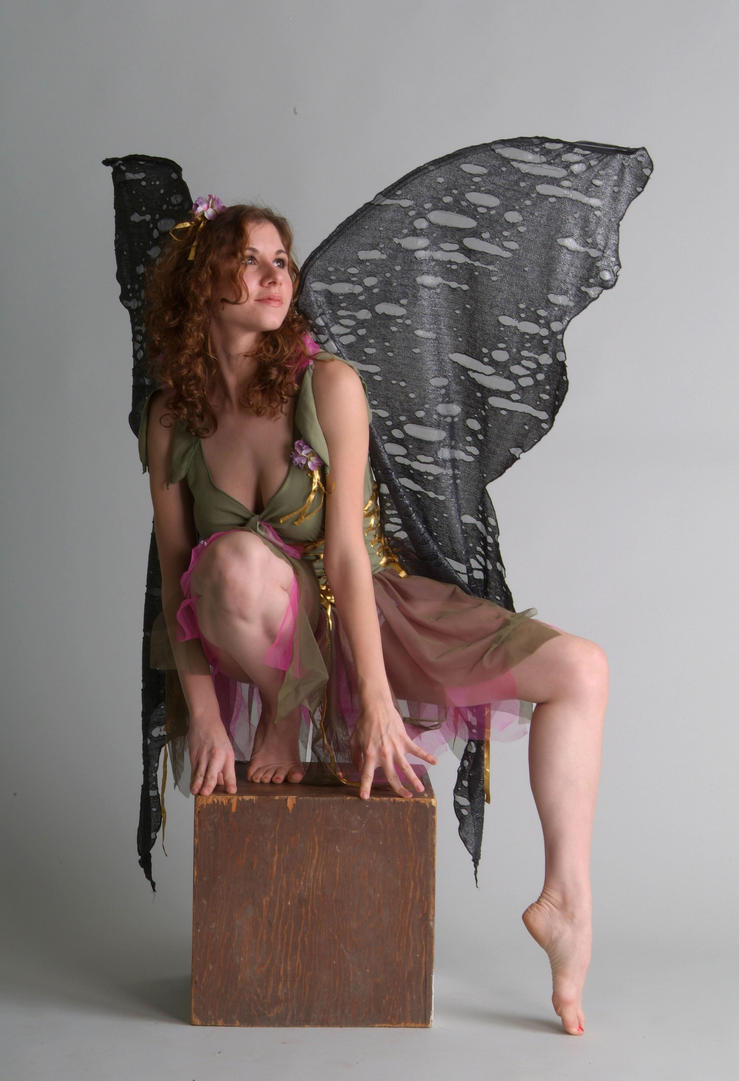
Photographs of fairies by Marcus Ranum
Step 2
The next few steps were done in Adobe Photoshop, but you can use whatever software you like to achieve the result. It will be a very raw photo-manipulation – just for a little composition help in future.
So, the first layer will be the landscape with cows
Step 3
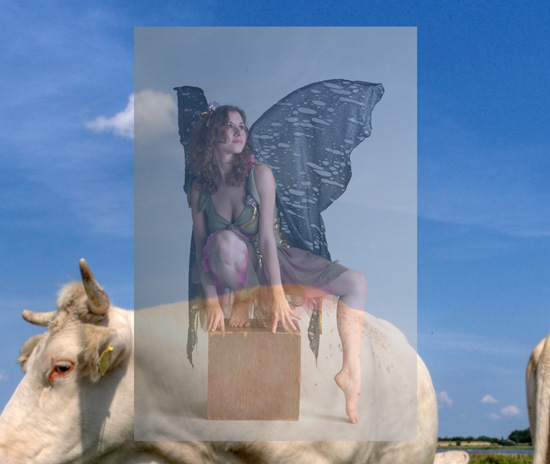
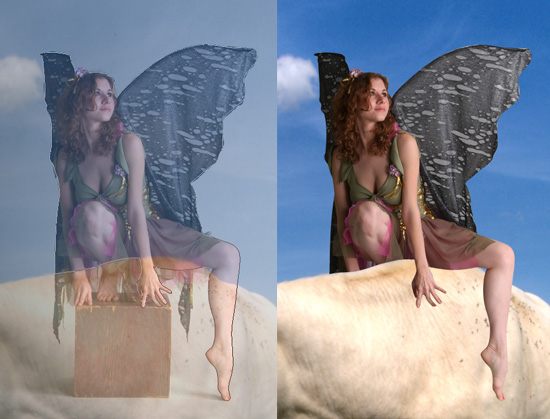
Paste the sitting fairy in the new layer above the cows and set it’s Opacity to 60%. Adjusts its size and position.
Step 4
Trace the fairy with a pen tool (P), Right Click and select “Create Clipping Mask”. Set the layers opacity to 100%
Step 5
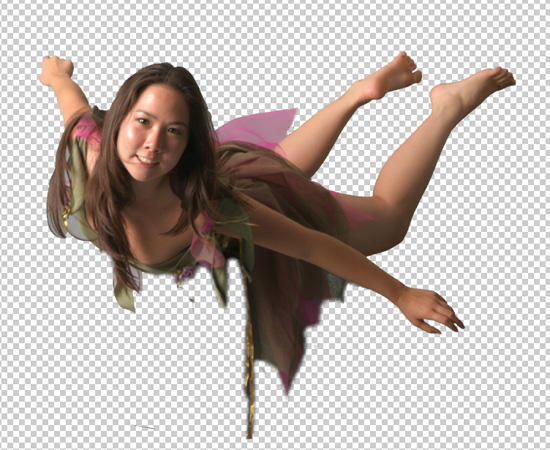
Paste the flying fairy and trace her with a pen tool (P). Don’t pay too much attention to her clothes. Right Click and select “Make Selection”. Select inverse (Cmd+Shift+I – mac, Ctrl+Shift+I – pc) and delete the fairy’s background.
Step 6
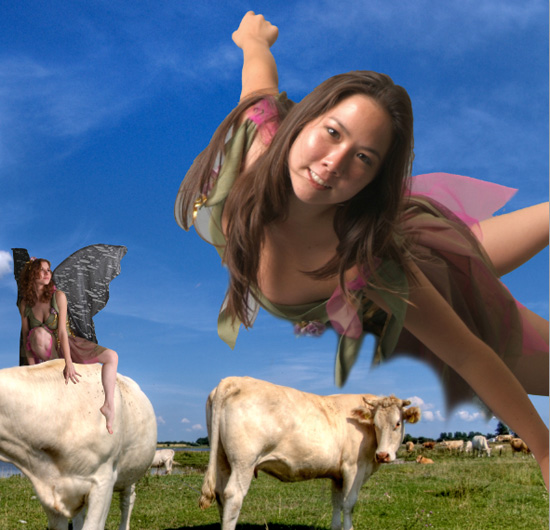
Adjust the flying fairy’s position and angle – Cmd+T (mac) or Ctrl+T (pc). Press Enter when you are pleased with the results. Delete the unwanted parts of her clothes.
Step 7
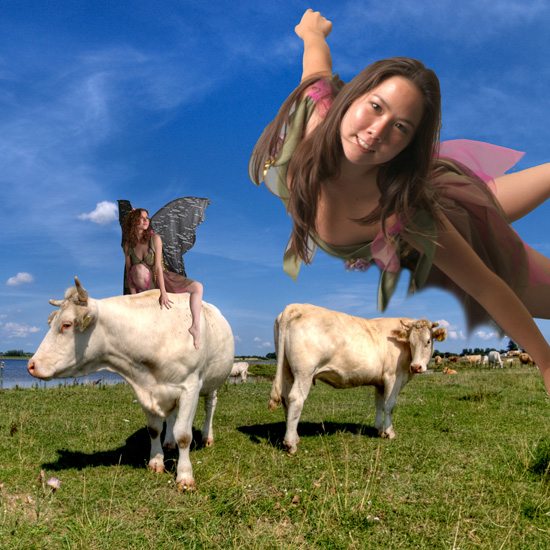
Select Crop Tool (C) and make you canvas a perfect square holding Shift while cropping. Save the image as .jpg file.
Step 8
Go to Adobe Illustrator and create a new document 200mm wide 200mm high.
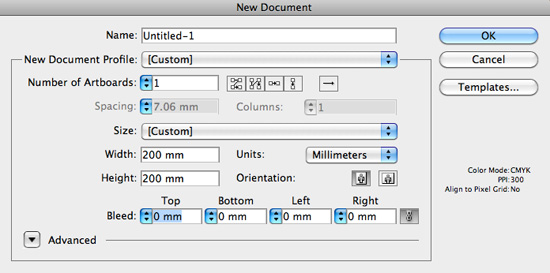
Step 9
Place your reference .jpg filler – File > Place. Rename the layer to “reference”
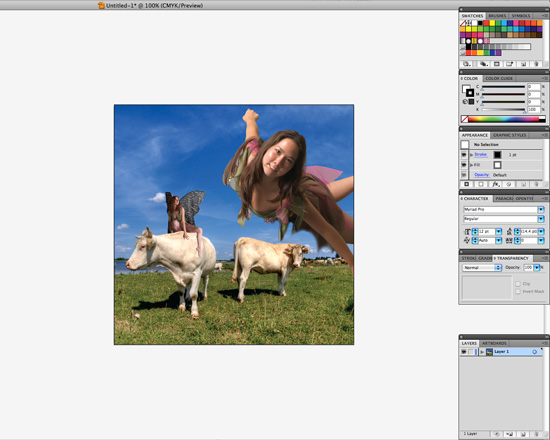
Step 10
Create a new layer “trace”. Now you have to trace your reference using Pen Tool (P). Select some bright color for the stroke and set the stroke width to 0.25pt or less. The key the good result is understanding the anatomy of women and animals. You should divide them into parts and create concentric shapes inside these parts. Add some details to the wings of the sitting fairy and create the waving hair for the flying one. The good news is that the models are in good shape, so it’s kind of easy to recognize their muscles and you always have pictures from this tutorial as the guides. The bad news is that it’s a time-consuming process. Depending on your tracing skill it might take you from an one up to three hours. Turn of the visibility of the “reference” layer after you have finished the trace.
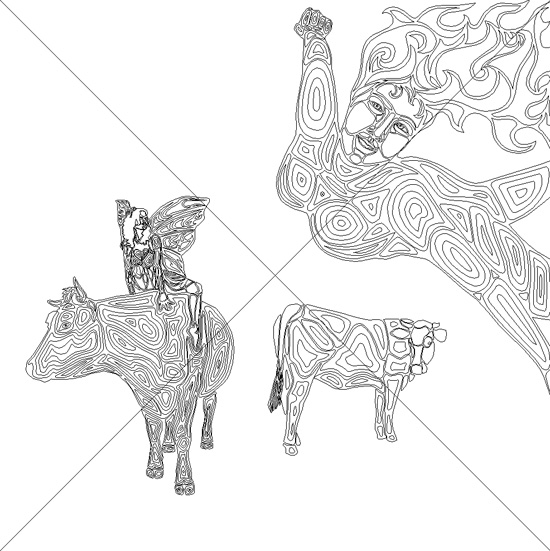
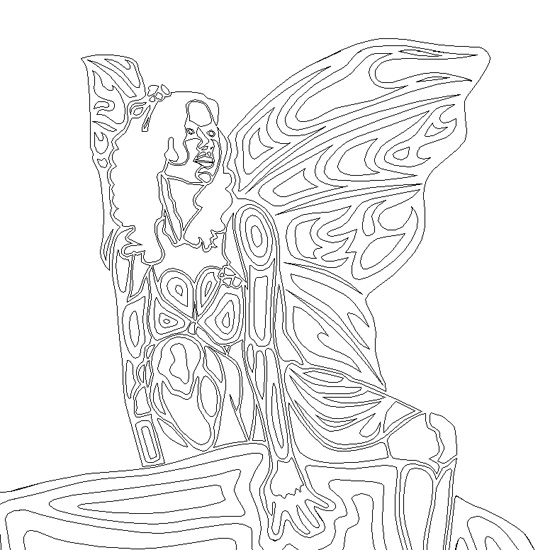
Step 11
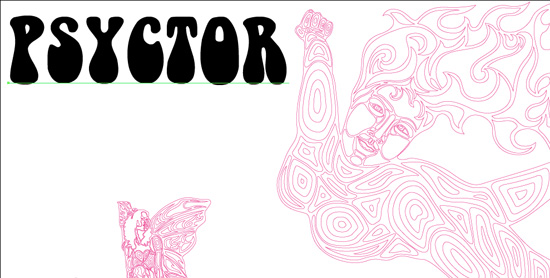
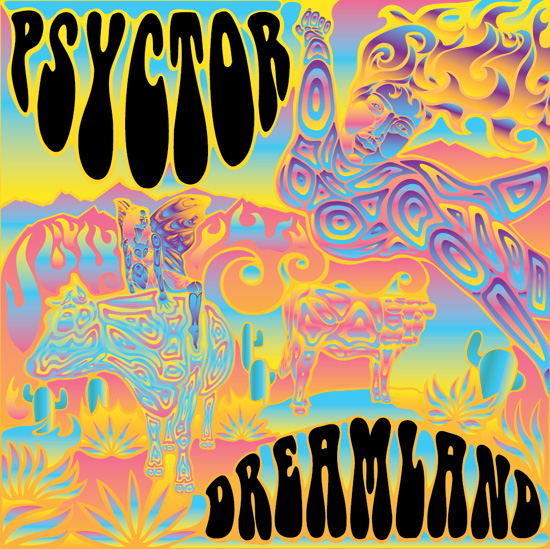
Now it’s the time to add some text. The font I’ve been using was “Bell Bottom”. You can download it from dafonts. Create new layer “text”. Take the Type Tool (T). Set the font size to 85pt. Type “PSYCTOR” in the top left corner of the image. Select your text object, go to Effect > Wrap > Arc Lower. It should be Horizontal. Set the Bend to 87%, Distortion to 0% in both directions.

Step 12
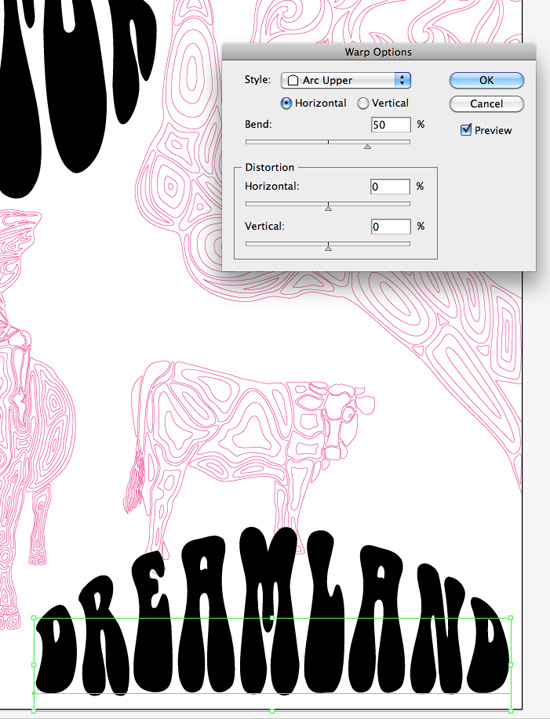
Type “DREAMLAND” in the bottom right corner of your design and set the font size to 65pt. Select your text object, go to Effect > Wrap > Arc Upper. It should be Horizontal. Set the Bend to 50%, Distortion to 0% in both directions.
Step 13
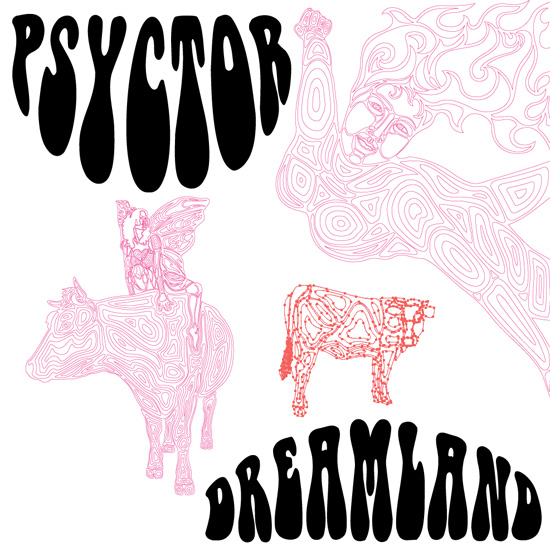
Adjust the position of the objects if needed.
Step 14
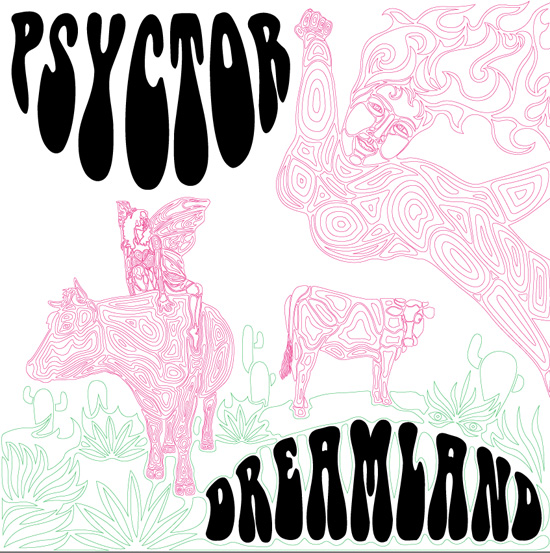
Create a new layer “landscape” behind “trace” and “text” layers and add some foliage on the ground and mountains to the background using Pen Tool (P). Make some flames and waves. At last add a rectangle 200x200mm and send it to back – Cmd+Shift+[ (mac) or Ctrl+Shift+[ (pc).

Step 15
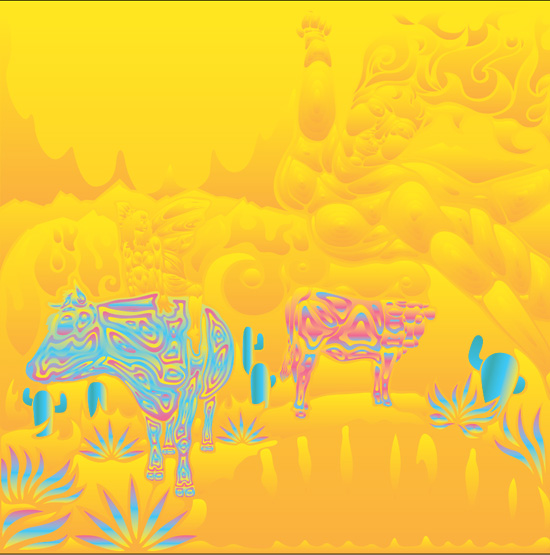
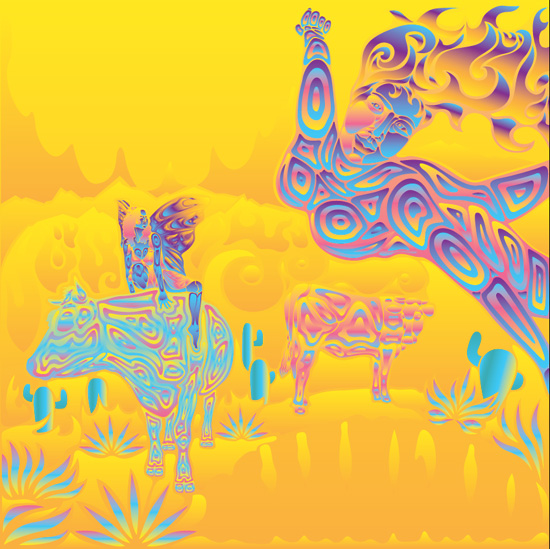
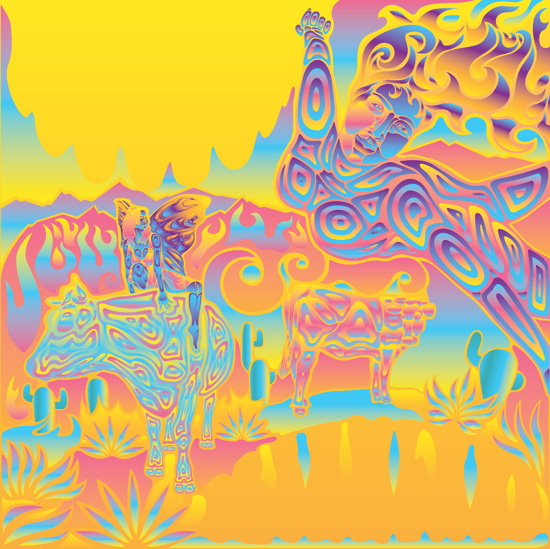
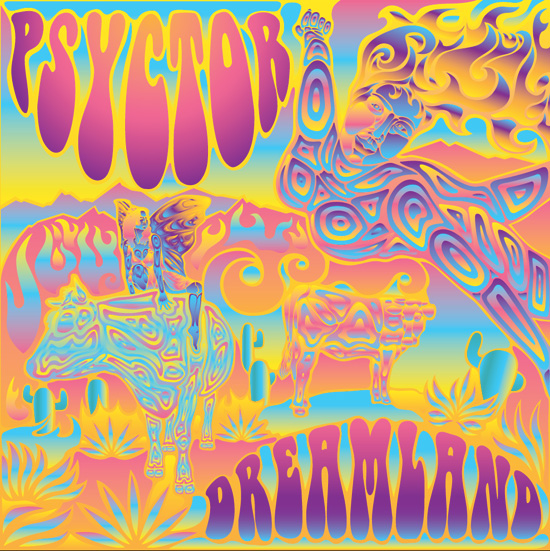
Here comes the fun part – coloring! Turn of the visibility of the “text” layer. Then you should set up the color palette. I’ve been using yellow, orange, azure, blueish green, purple and magenta. Color the shapes with Gradient Fill with three swatches. You can fill the concentric shapes with the same gradient but change it’s angle in every shape. This can give your image a vivid liquid look. I really don’t want to push you to color anything in any specific color. Try to color the image without thinking, just let go and use your subconsciousness – this is how the psychedelic art works.
Step 16
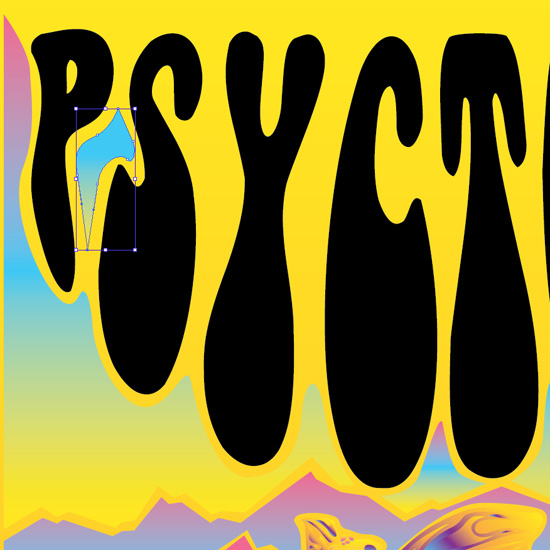
Turn on the visibility of the “text” layer and add some missing parts to your design if needed.
Step 17
Create the copy of the “text” layer just to be sure that if you do something wrong you can always start over. Turn of the visibility of the “text copy” layer. Select the text objects in the “text” layer, go to Object > Expand Appearance. Color the “PSYCTOR” text with a radial gradient and “DREAMLAND” with a linear gradient.
Step 18
The last step is adding black to design. First color the background square to black. Then fill with black some shapes in the each of the figures – this will make them merge into background and they all be united. Besides, black makes the design more contrast and colors seem even brighter when black is present.

P.S.
If you would like to receive a free copy of the reference image and the original vector design (Adobe Illustrator) follow these steps:
- Promote this post in your blog, twitter, Facebook, etc. with a link. – https://andreiverner.com/freebies/how-to-create-a-psychedelic-vector-music-album-cover-in-abode-illustrator-and-adobe-photoshop
- Post a comment in this post linking to the page where you have promoted the tutorial.
I’ll send you a copy of the files as soon as possible. You’ll be able to use the design personally or commercially. The archive weights about 17mb, so make sure your e-mail can receive files of such size

Pingback: Andrei Verner – Best of 2011
Haha
sorry but I found the image of the fairy girl from google image search and the only reason I came here to check it out was her right knee, that looks exactly like a very weird pregnancy belly! I’m laughing my ass off here
I prefer not to focus on that knee :D
Pingback: RK TUTS » Portada de Album Psicodelica
This is actually amazing and it inspires me to learn how to use adobe illustrator and photoshop. You are very talented and I hope to someday create art like this! How long did it take you to master these techniques?
Thanks Erica! I’m sure if you pursue your goal you will definitely reach it. From my experience I recommend you not to care much about the amount of time you spend mastering your skills. Love for doing doing art is the fuel that will drive you all the way to success :)