illustrations and paintings, tutorials
How to create a foggy vector landscape using Adobe Illustrator CS4 tutorial
This 10-steps tutorial is about creating a foggy spooky landscape using simple Adobe Illustrator tools.
Step 1
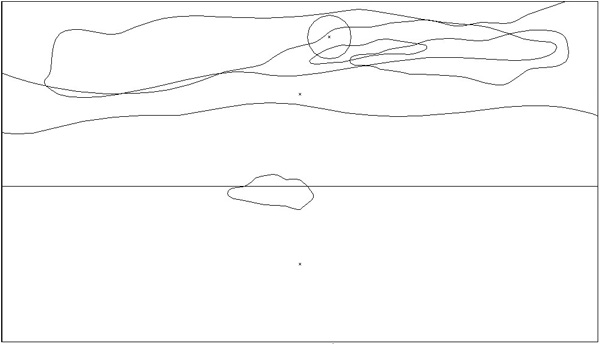
Rename the first layer to “background” and create the basic shapes for the background: ground, sky, clouds and sun.
Step 2

Color ‘em with different gradient fills. You can use global swatches, so it would be easy to change the color of the hole image with one click.t
Step 3

Apply Gaussian Blur effect to the clouds and sun.
Step 4
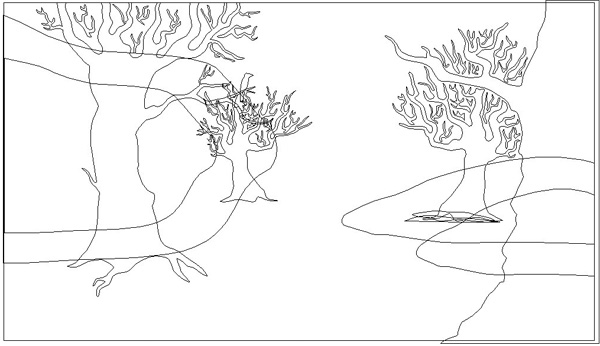
Create new layer “trees and fog” and add the trees and fog shapes
Step 5
Color ‘em with different gradient fills. Change the Opacity of the Gradient Sliders to make the fog look more transparent and wavy.
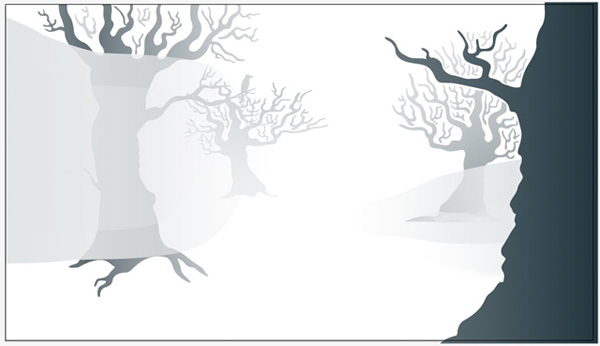
Step 6

Apply Gaussian Blur effect to the trees and fog.
Step 7
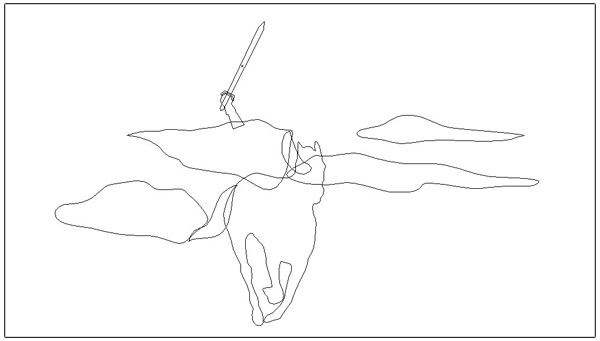
Create new layer “rider” and add a silhouette of a horse, cloak, hand, sword and some fog.
Step 8
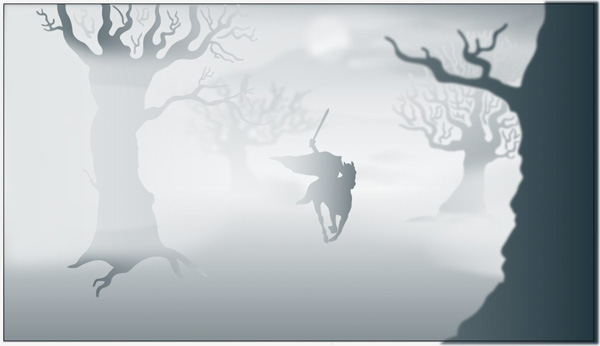
Color the rider and fog. Blur the fog.
Step 9
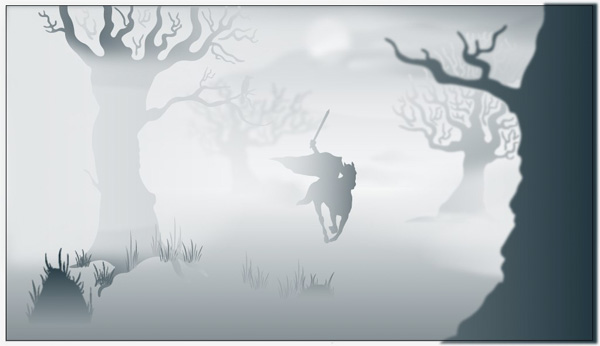
Make a layer “grass” and add some grass and blur the closest one.
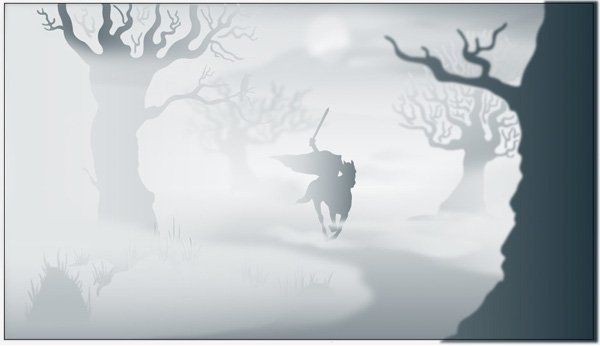
Step 10
Create new layer “foreground fog” and add few fog shapes, color them and blur. Finally add a clipping mask, so there will be no blurry shapes outside the canvas and this is it!
If you want to support me
Check out my shop for some psychedelic goodies like fluorescent t-shirts and uv-reactive backdrops!